When dealing with GitHub, we used to always link it with CI/CD tools like CircleCI, Jenkins or Travis, among other tools, to extend the functionality of its resources and also to automate a wide variety of actions when a git event would occur. This has turned out to be a vital part of DevOps and GitOps, which has helped countless teams to consistently deploy applications in a stable and reliable fashion.
Since last November, GitHub has begun to provide support for an integrated CI/CD tool called Actions. With this feature now supported, you can build, test, and even deploy your code right from GitHub. The idea is simple. You place a .yaml file inside .github/workflows/ right in your repository, and from there you’re good to go with all the major operating system environemnts, including Windows, Linux, and macOS.
In this article, I’m going to provide you with an example that will give you a bit of an idea of how you can automate the update process of your website hosted on a bucket using Alibaba Cloud Object Storage Service (OSS).
Setting up an OSS bucket, Domain Binding and Static Site Hosting
Alibaba Cloud Object Storage Service (OSS) has a very interesting feature where you can publish websites hosted on a bucket. You can also configure any existing bucket to host a static site by just binding a domain to it. It doesn’t matter if it is the name of the bucket or if this was an afterthought. Note, with the equivalent service of AWS S3, you aren’t granted with the same level of flexibility in this regard.
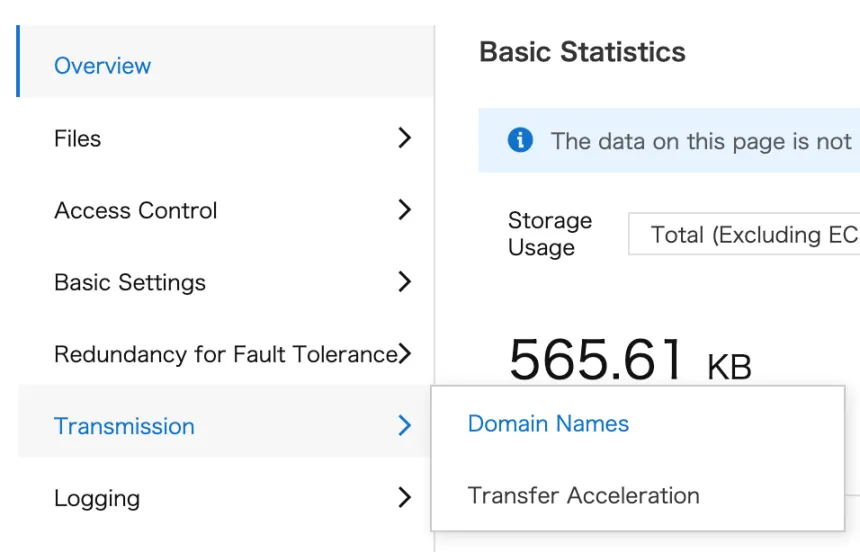
To set up the bucket as a website, first you need to bind the domain of your preference under Transmission > Domain Names inside the OSS console of your bucket’s menu.
After that, you’ll need to create a CNAME record to point your domain name to the bucket itself. You can find the value for the CNAME under Overview > Domain Names > Access Over Internet > Bucket Domain Name. By doing this, you’ll send the proper headers so that Alibaba Cloud knows which bucket to serve. Note: If you manage the DNS for the domain with Alibaba Cloud, just select Add CNAME Record Automatically and it will take care of the DNS record by itself.
Last, but not least, you need to turn ON the Static Pages functionality by going to Basic Settings > Static Pages, as shown below:
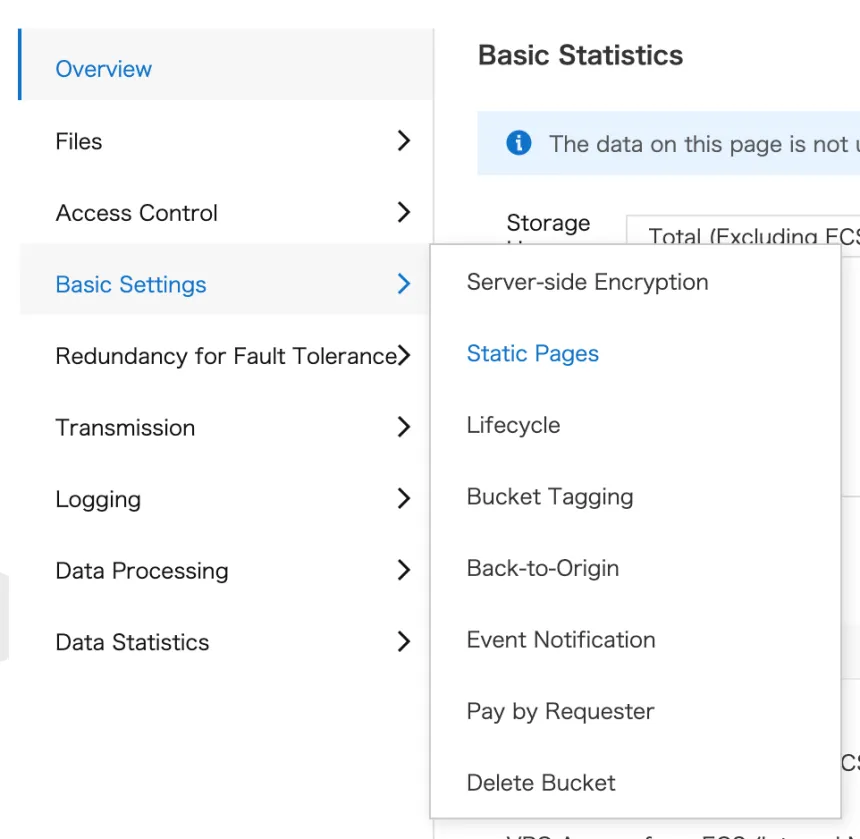
On this screen, you’ll need to click Configure, and then set the name of the two required files, set index.html for Default Homepage and error.html for Default 404 Page.
Test the site
By this point, if you just upload a file named index.html to the bucket, the website will work by visiting the domain on a browser.
Setup GitHub Actions Workflow
Before writing the yaml file you should know about how to store the sensitive information as GitHub Secrets. In our case this means, at least, storing the key secret as an encrypted element.
To store the secret, go into your GitHub repository and, once you’re in Settings, go to Secrets on the left menu and then click Add a new secret. Set the Name as ACCESS_KEY_SECRET and paste your key under Value.
And you’re all set to go! Below you can find the template to use to push your site. You only need to fill the env: section of the file (where the bucket, endpoint, access key, and access key secret are defined) to adapt it to your specific needs:
name: Push to Alibaba Cloud OSS

on:
  push:
    branches: [ master ]

env:
  BUCKET: bucket_name_here
  ENDPOINT: oss_endpoint_here
  ACCESS_KEY: your_access_key_here
  ACCESS_KEY_SECRET: $

jobs:
  build:
    runs-on: ubuntu-latest
    steps:
      - uses: actions/checkout@v2
      - name: Install Alibaba Cloud OSSUTIL
        run: wget https://gosspublic.alicdn.com/ossutil/1.6.10/ossutil64 && chmod +x ossutil64
      - name: Configure Alibaba Cloud OSSUTIL
        run: ./ossutil64 config -i ${ACCESS_KEY} -k ${ACCESS_KEY_SECRET} -e ${ENDPOINT} -c .ossutilconfig
      - name: Upload the web folder to the chosen OSS bucket
        run: ./ossutil64 --config-file .ossutilconfig cp $/web oss://${BUCKET} -r -f
On our template, we can see the workflow defined in three blocks: on:, env: and jobs:.
- As you may guess, the on: block tells GitHub which events to listen to. For us, it only commits pushed to the master branch will get honored.
- The
env:block feeds the environment variables for the actual job, which, in our case, are the bucket name, OSS endpoint and the Alibaba Cloud KeyPair. - Finally, the
jobs:block defines what the actual action will do. For us, it tells GitHub to run an Ubuntu machine with three steps:- Install Alibaba Cloud OSSUTIL
- Configure Alibaba Cloud OSSUTIL
- Upload the web folder to the chosen OSS bucket
OSSUTIL is one of the official open-sourced tools developed by Alibaba to manage operations with buckets. It supports multi-part upload with no extra operation from the user. To keep the repository clean and the script out of unnecessary flags, the web is living under the web folder of our git repo, and only its contents will get pushed to the bucket when any commit gets pushed to the master. This is also a way to prevent unwanted credential leaks by pushing all the contents to the bucket.
Conclusion
Did I mention this type of workflow can be called serverless? As you can see, you are not managing any traditional piece of infrastructure as you would have done in the past. In fact, with this kind of workflow, you can be coding directly from your iPad, pushing the changes to your GitHub repository and, within seconds, the changes will be available online by using an OSS bucket.
Magic? Nope, it’s called just serverless.