If you’ve noticed your MacBook Pro A1398 experiencing decreased battery life or, worse yet, a bloated battery, it’s time for a replacement. In this step-by-step guide, I’ll walk you through the process of replacing the A1618 battery with a new one from “NinjaBatt”. Follow along with detailed instructions, and refer to the included photos for a smooth and successful battery replacement.
Materials Needed
- Replacement A1618 battery from NinjaBatt
- Screwdriver set
- Spudger tool
- Clean, flat workspace
Step 1: Safety First
Before you begin, power off your MacBook Pro and disconnect it from any power source. It’s also a good idea to wear an anti-static wrist strap to prevent any static electricity from damaging sensitive components.
Step 2: Removing the Old Battery
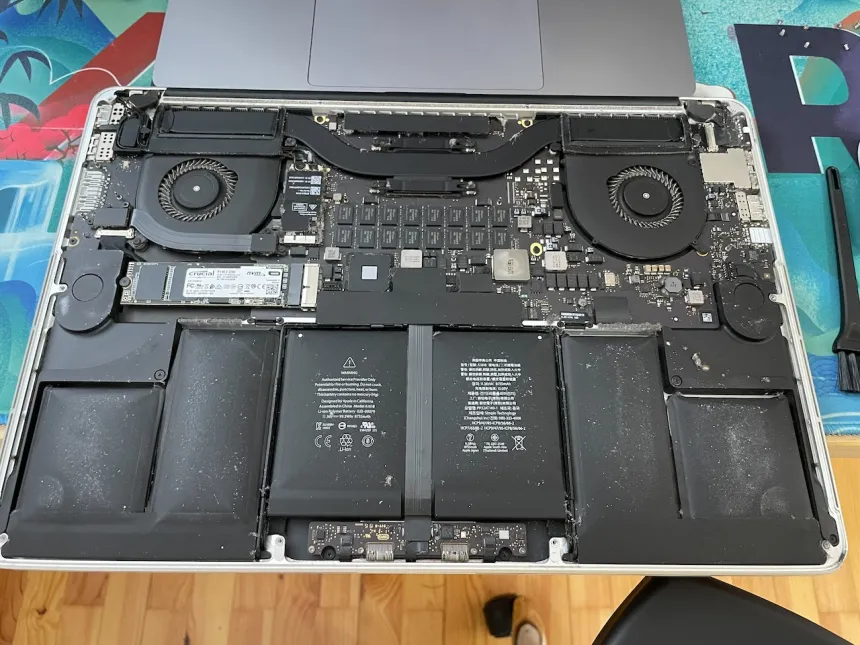
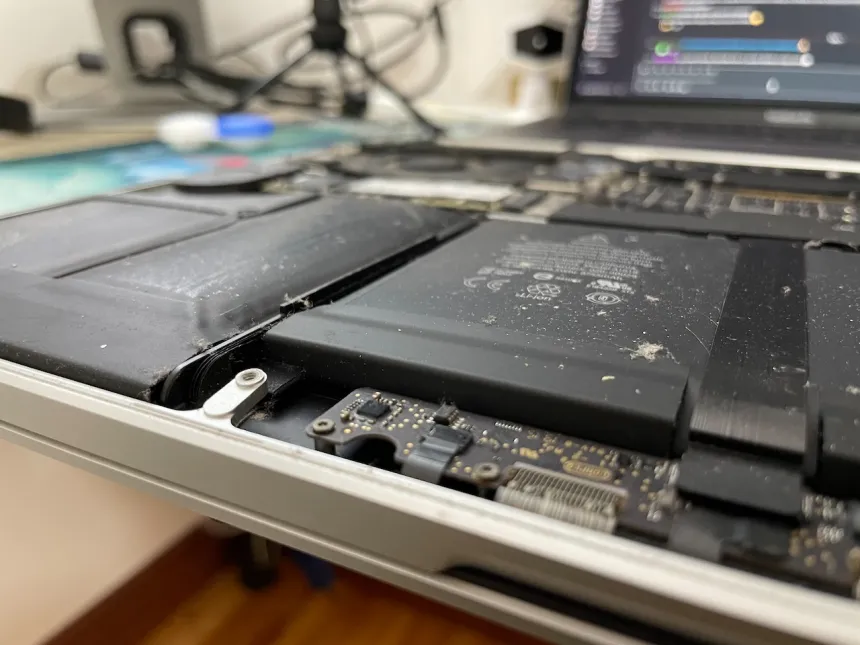
Photo 1 and 2: Examine the bloated original battery. To remove it, use the appropriate screwdriver to carefully unscrew the screws securing the back cover of your MacBook Pro.
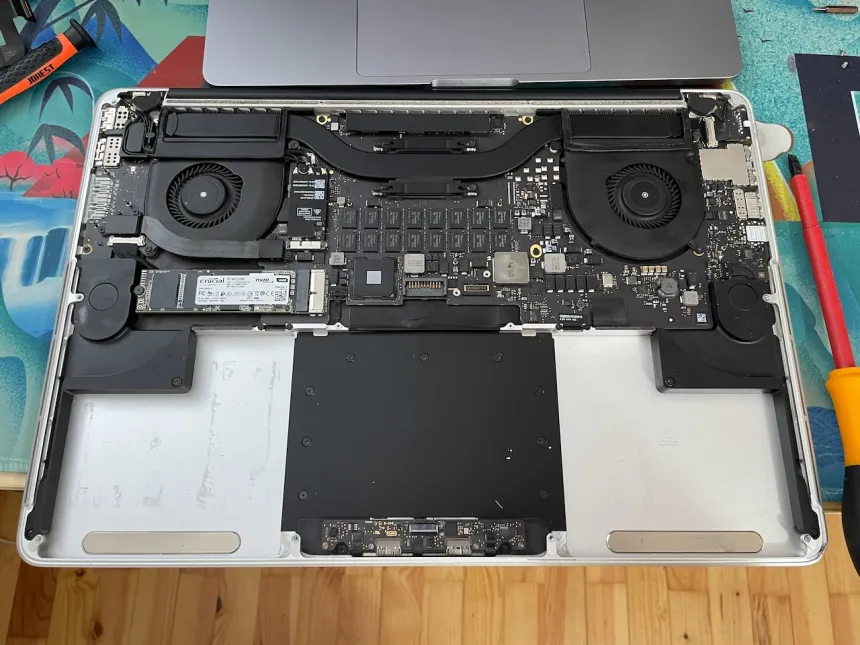
Photo 3: Once the back cover is off, gently disconnect the old battery from the logic board using the spudger tool. Take note of the battery’s orientation and how it’s connected.
Step 3: Cleaning the Interior
With the old battery removed (Photo 3), take the opportunity to clean the interior of your MacBook Pro. Use a can of compressed air to remove any dust and debris, ensuring a clean environment for the new battery.
Step 4: Unboxing the New Battery

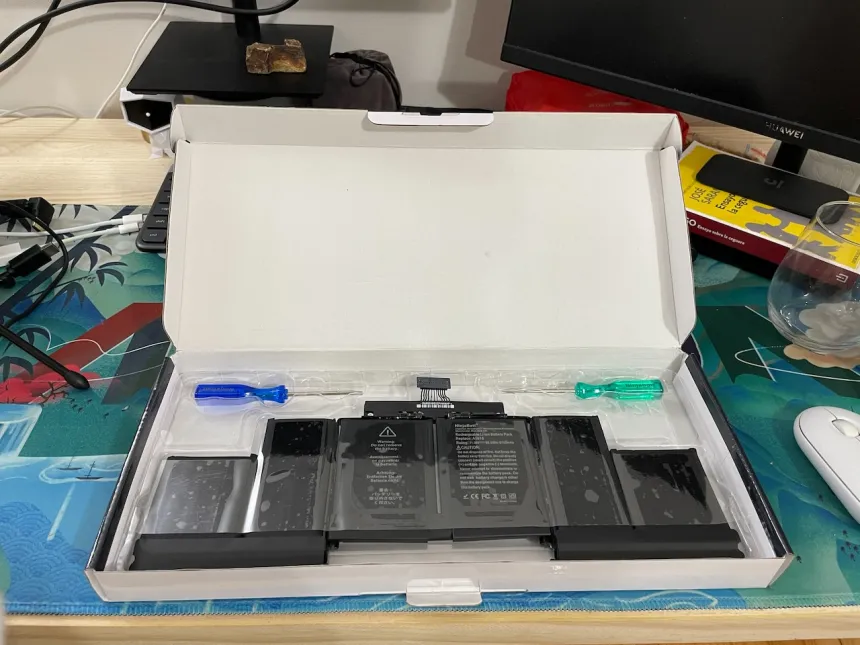
Photo 4: Open the box from NinjaBatt and carefully inspect the new A1618 battery. Ensure it matches the specifications of your MacBook Pro A1398.
Step 5: Installing the New Battery
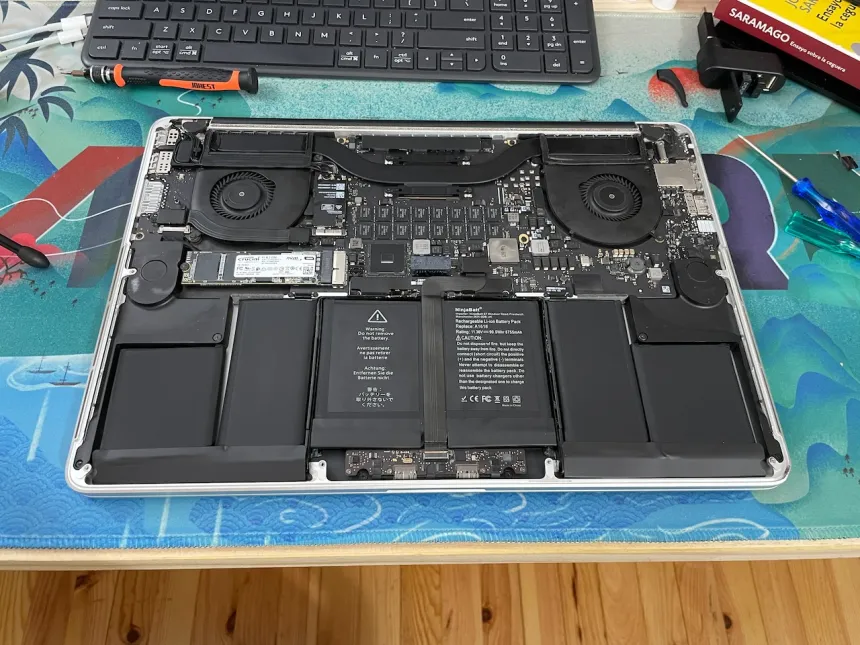
Photo 5: With the cleaned interior, gently connect the new battery to the logic board, making sure it’s securely in place. Screw the back cover back onto your MacBook Pro using the screwdriver.
Step 6: Powering On
After securing the new battery, power on your MacBook Pro and check if it recognizes the new battery. If everything is in order, you should now enjoy improved battery life without the risk of a bloated battery. Congratulations! You’ve successfully replaced the A1618 battery in your MacBook Pro A1398, restoring its power and longevity. Regularly check for firmware updates and follow best practices for battery maintenance to ensure optimal performance in the long run.