If you, like me, have a Raspberry Pi Zero W lying around, why not repurpose it into a LoRaWAN gateway using the LR1302 module? In this guide, I’ll walk you through the steps to set up ChirpStack on your Raspberry Pi Zero W using an Elecrow LR1302 LoRaWAN Gateway on a HAT. Let’s get started!
What You’ll Need:
- Raspberry Pi Zero W
- MicroSD card (8GB or larger recommended)
- Elecrow LR1302 LoRaWAN Gateway with a Raspberry HAT
- Computer with SD card reader
Step 1: Prepare the ChirpStack Gateway OS
-
Download the ChirpStack Gateway OS Visit the ChirpStack Gateway OS installation page here and download the “Full” SD card factory image under the Raspberry Pi section.
-
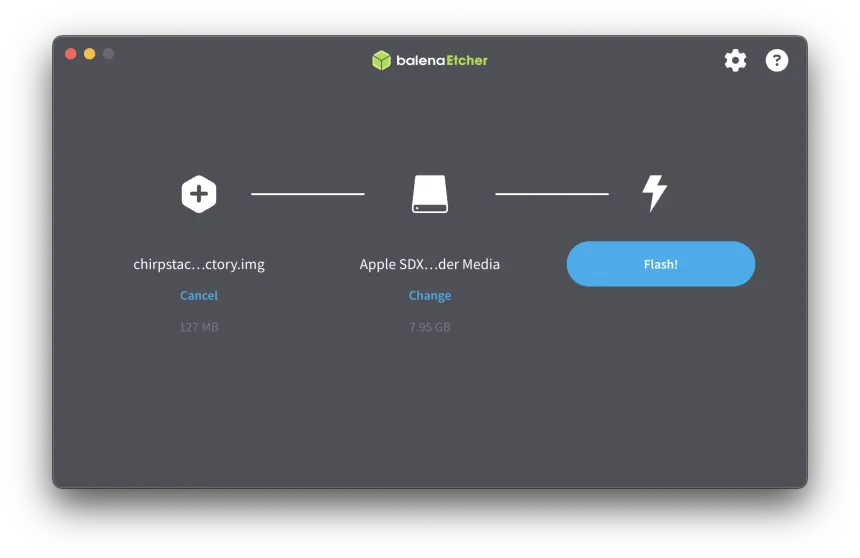
Install Balena Etcher Download and install Balena Etcher from etcher.balena.io. This tool will help you flash the ChirpStack Gateway OS image onto your MicroSD card.
-
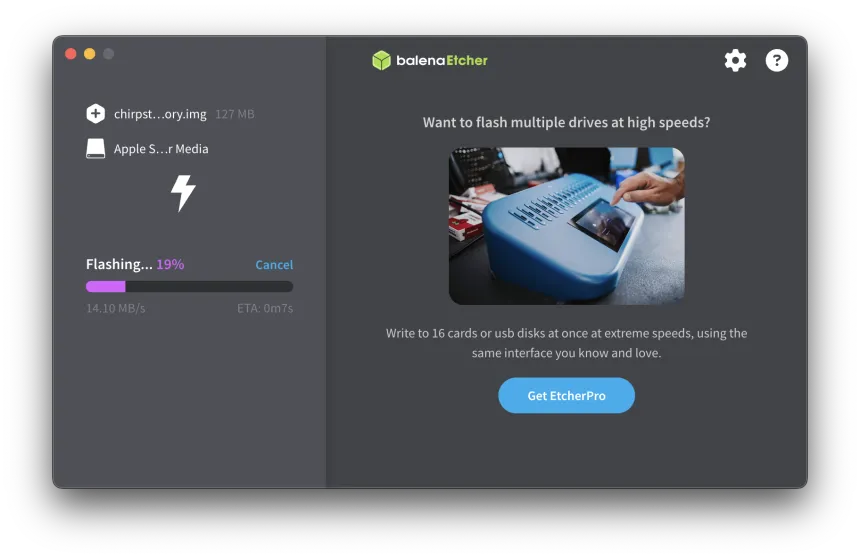
Flash the Image Insert the MicroSD card into your computer’s reader, open Balena Etcher, select the downloaded ChirpStack image, choose your SD card, and click “Flash”.

- Insert the SD Card Once the flashing process is complete, insert the SD card into your Raspberry Pi Zero W.
Note for Raspberry Pi Zero 2 W users: The ChirpStack Gateway OS download page doesn’t list the Raspberry Pi Zero 2 W specifically, only the Zero W (the older single-core version). The Zero 2 W uses the same SoC as the Raspberry Pi 3, just downclocked (Broadcom BCM2710A1, quad-core). Images built for the Pi 3B/3B+ usually work fine on the Zero 2 W, while the Zero W images often won’t boot properly because they’re for a completely different (ARMv6) architecture.
Step 2: Power On and Initial Setup
-
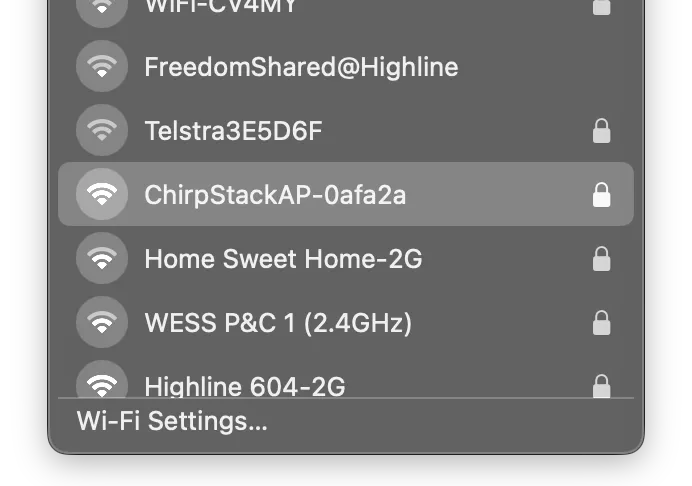
Boot Up the Raspberry Pi Power on the Raspberry Pi by connecting it to a suitable power supply. The ChirpStack Gateway OS will boot, and on the first startup, it will create an access point.
-
Connect to ChirpStack AP Connect your computer to the Wi-Fi access point named “ChirpStackAP-XXXXXX” using the password “ChirpStackAP”. The gateway’s IP address will be 192.168.0.1.
Step 3: Configure the Gateway
- Access the ChirpStack Web Interface
Open your browser and navigate to
http://192.168.0.1. Log in with the default credentials:- Username:
root - Password:
<leave empty>
- Username:
- Configure the Concentratord
- Navigate to ChirpStack > Concentratord.
- Deselect USB and select GNSS.
- Under Shield model, choose “Seeed - WM1302”.
- Click “Save & Apply”.
If configured correctly, the footer of the web interface should update from “Gateway ID: could not read gateway_id” to something like “Gateway ID: 0102030405060708” (with your actual Gateway ID). It may take a few seconds for the Concentratord to initialize. If the Gateway ID doesn’t appear right away, try refreshing the page a couple of times.
Step 4: Log into ChirpStack
- Go to Applications > ChirpStack within the web interface.
- Use the default credentials (
admin/admin) to log into ChirpStack.
Step 5: Complete the Setup with ChirpStack Documentation
From here, you can follow the standard instructions on the ChirpStack official documentation to finalize your gateway configuration, set up network servers, and connect your LoRaWAN devices.
Conclusion
Nice! You’ve successfully set up ChirpStack! Enjoy experimenting with your new gateway, and happy hacking!